Build static blog with publii: A super simple way to hold your blog
In this artitle,I am going to teach you how to set up the environment for holding your static blog with the static CMS publii. Trust me, it is much eaiser than any other ways you’ve ever tried. It just needs you several miniutes to set your own blog website.
Why publii
publii is desktop-based CMS for Windows, Mac , and Linuex that makes creating static websties fast and free.It’s well designed to use even for beginners who knows nothing about programming skills.
Unlike may static blog generators which needs you to know basic knowledge about the command of git, operations on publii are realized through the Graph User Interface(GUI),so do worry if you knows nothings about code,command or any other stuff.
Get Started
Tools we need
The tools that we will use in the following steps:
- github account
- cloudflare account
- publii
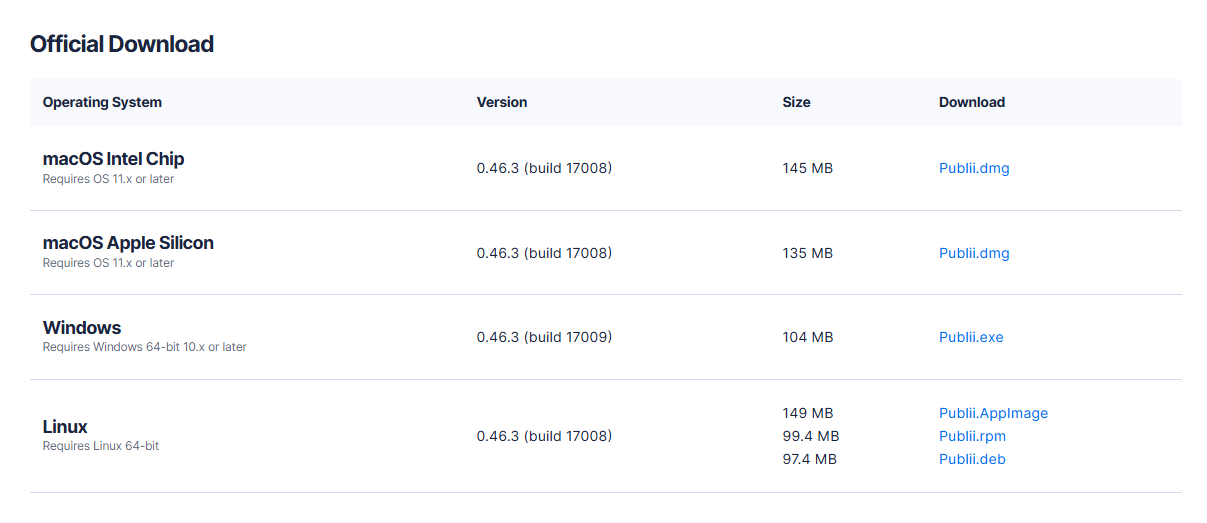
Download the publii app
click publii’s offical download page,and choose the suitable version for your operating system(Windows, Mac, Linux).
I use Windows,so I choose the Windows version.
After downloaded the publii.exe. Install it with default setting, then open the app.
create your site

Enter your site’s name and the author’s name and click the “Create website” to create your own website.
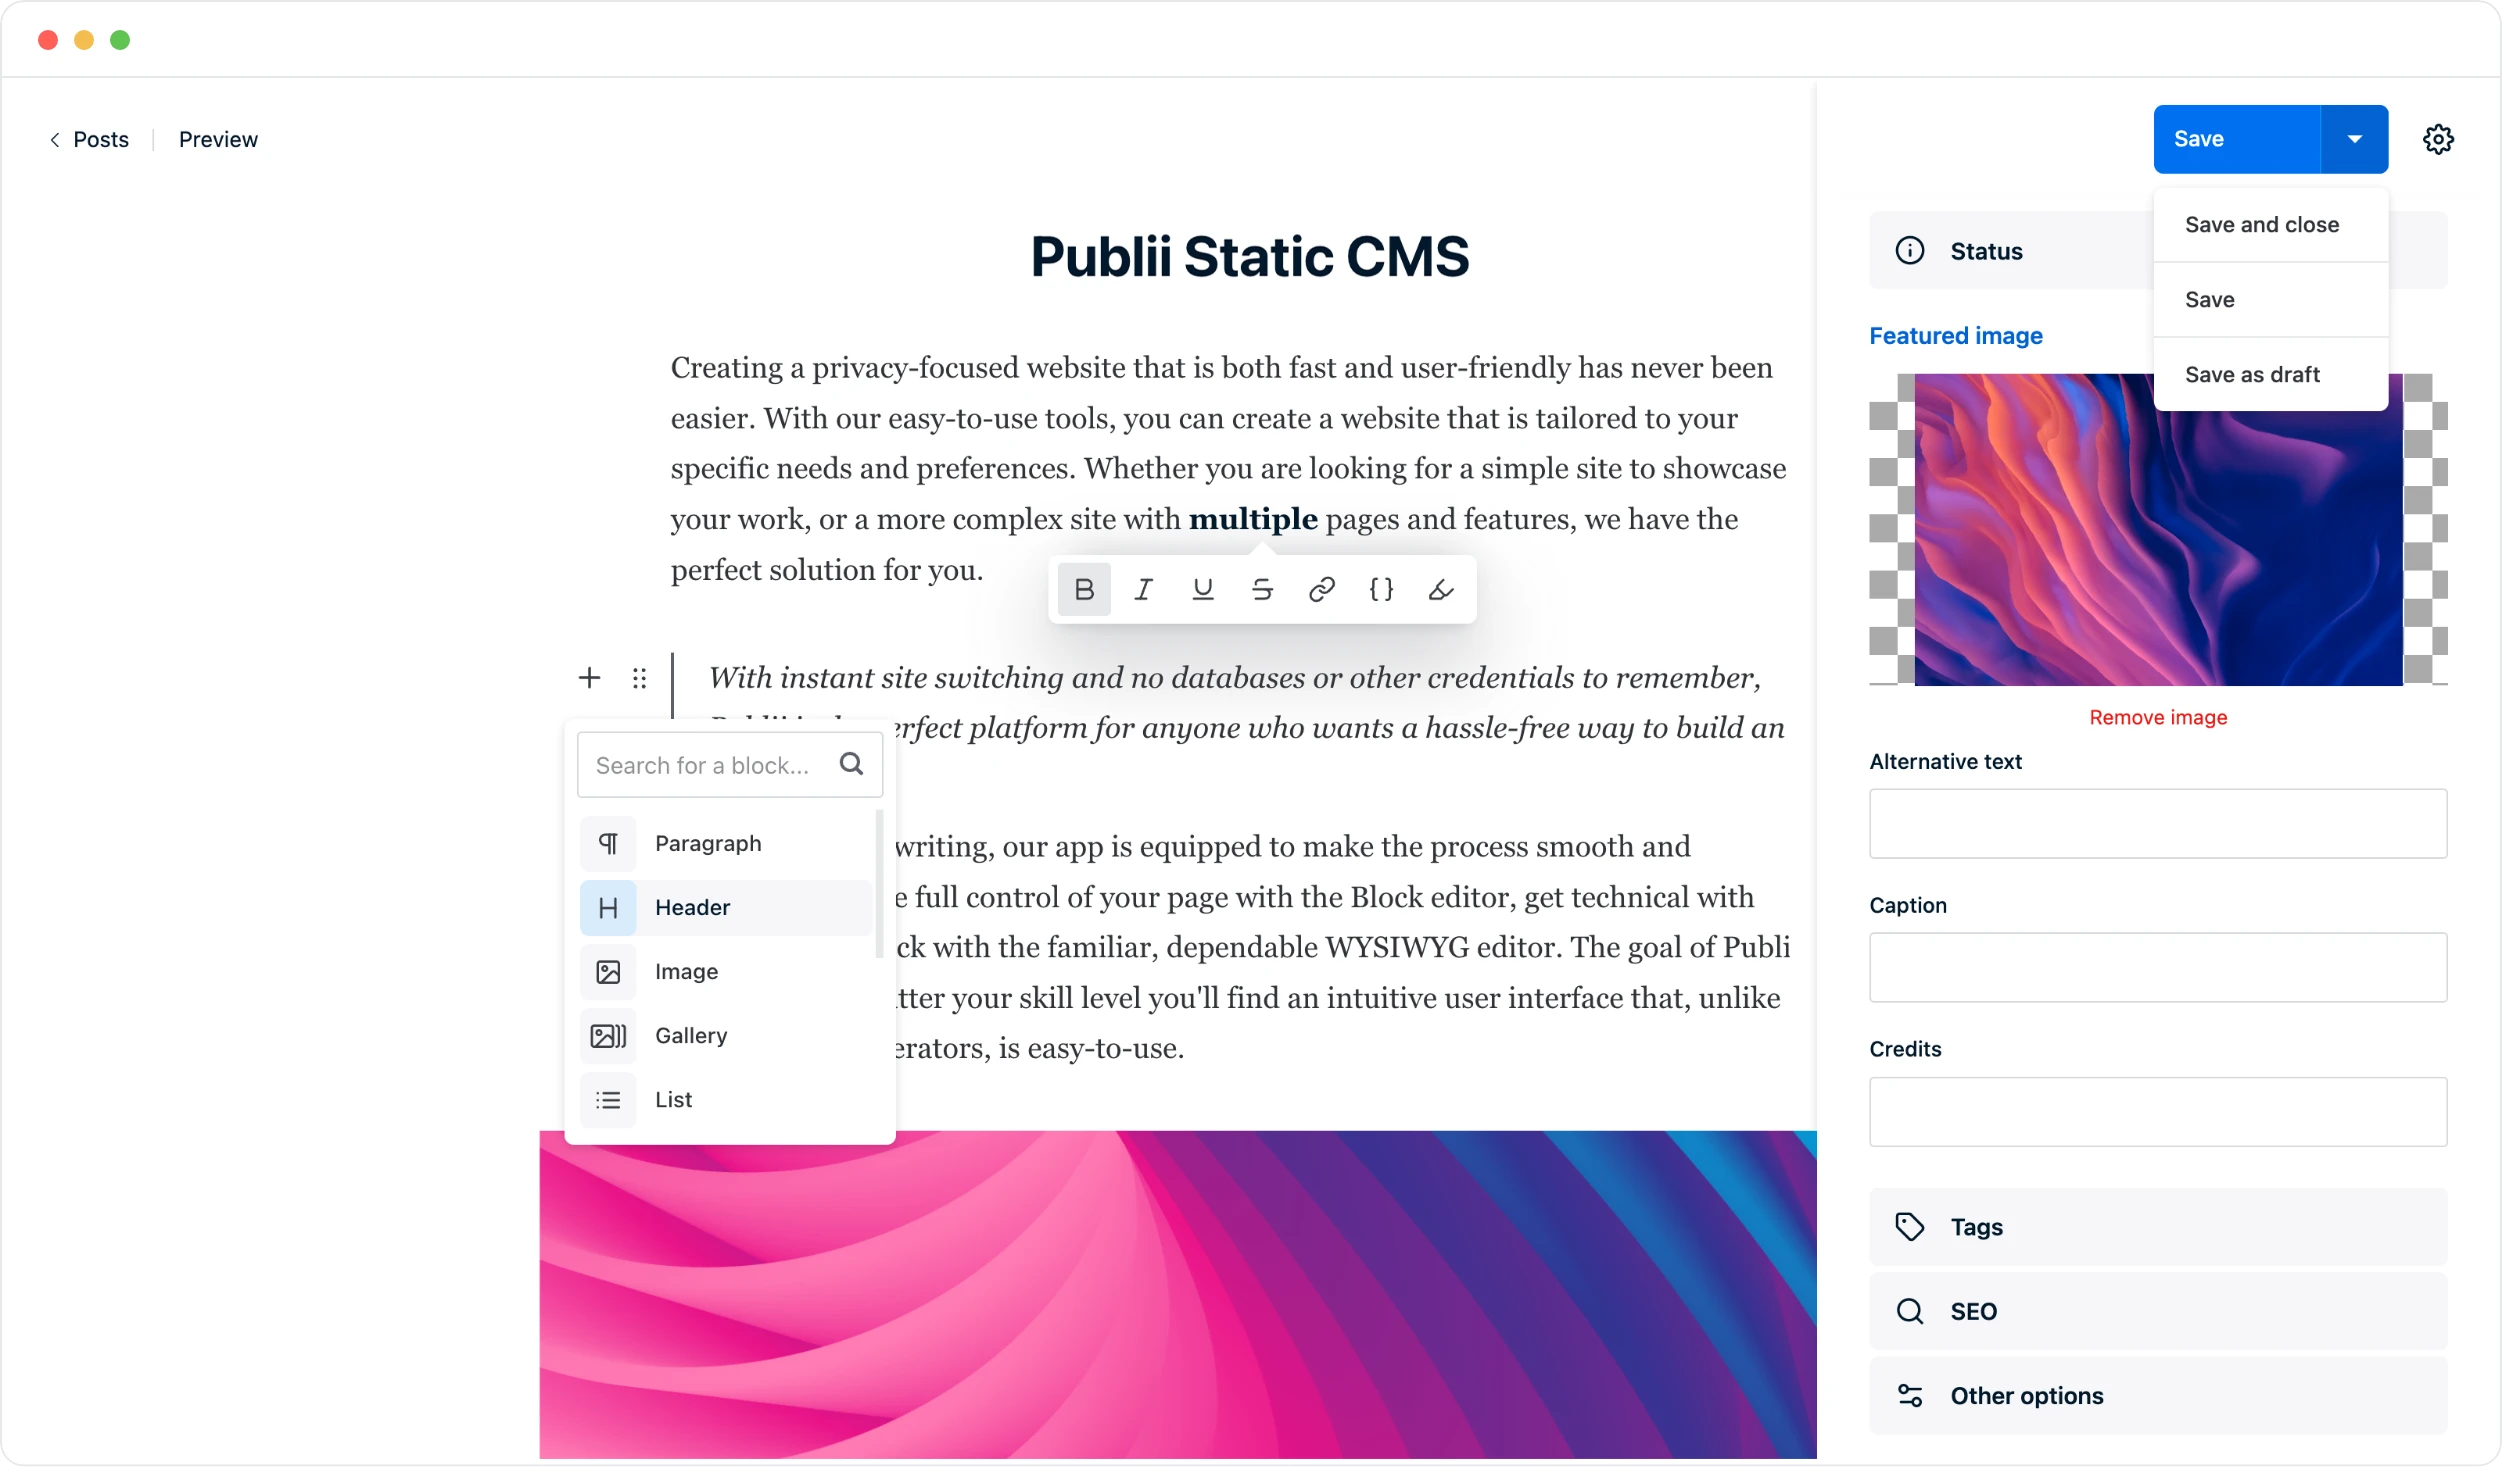
Write the content and test
you can choose either markdown editor,block editor or WYSIWYG editor to start writing your content. For the beginners, block editor might be a better choice.
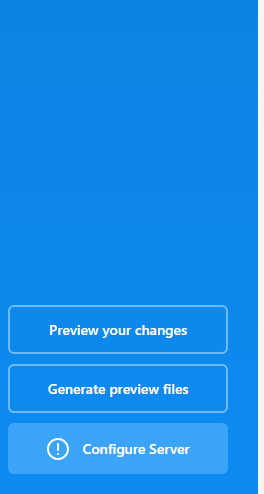
Preview your website
click the “Preview your changes” button to preview your website.It should be what the following image has shown.
Change the theme
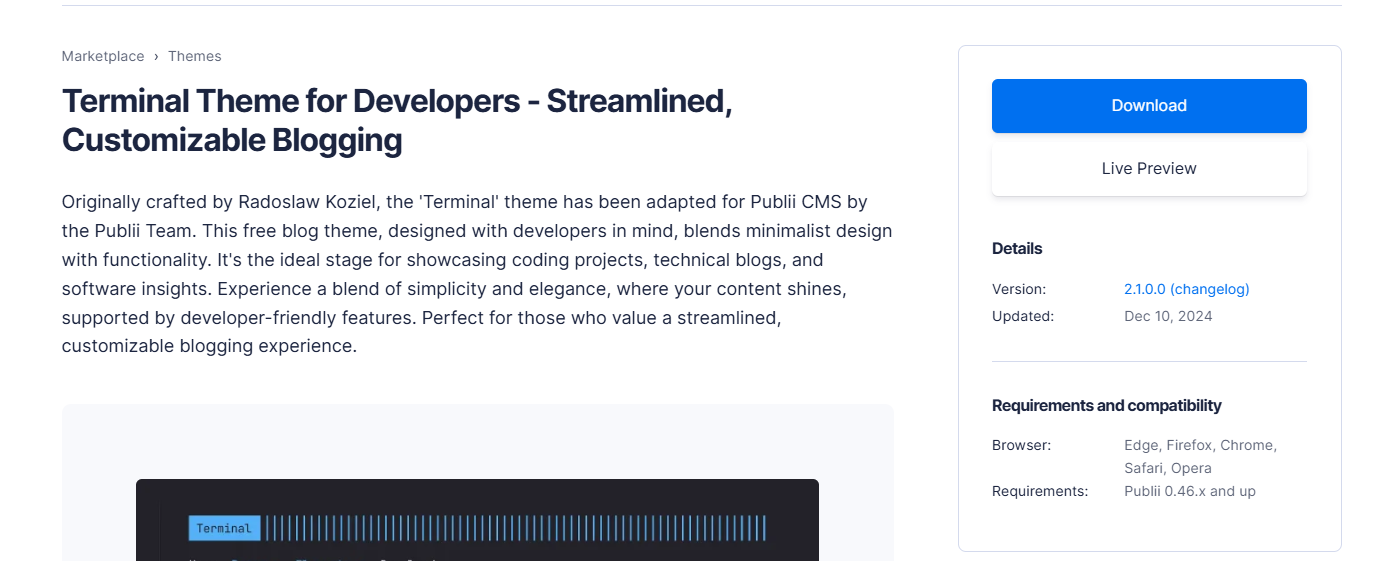
if you want your website to look fansier,try the custom theme on the publii’s official market,choose a free theme to download.
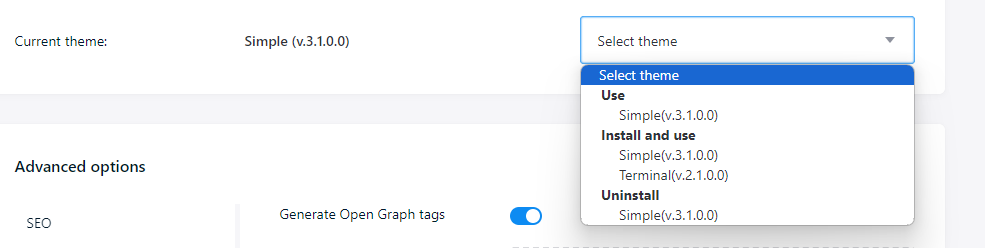
After downloaded,click the theme button to import the theme zip file,


After then,change the theme in the site settings.
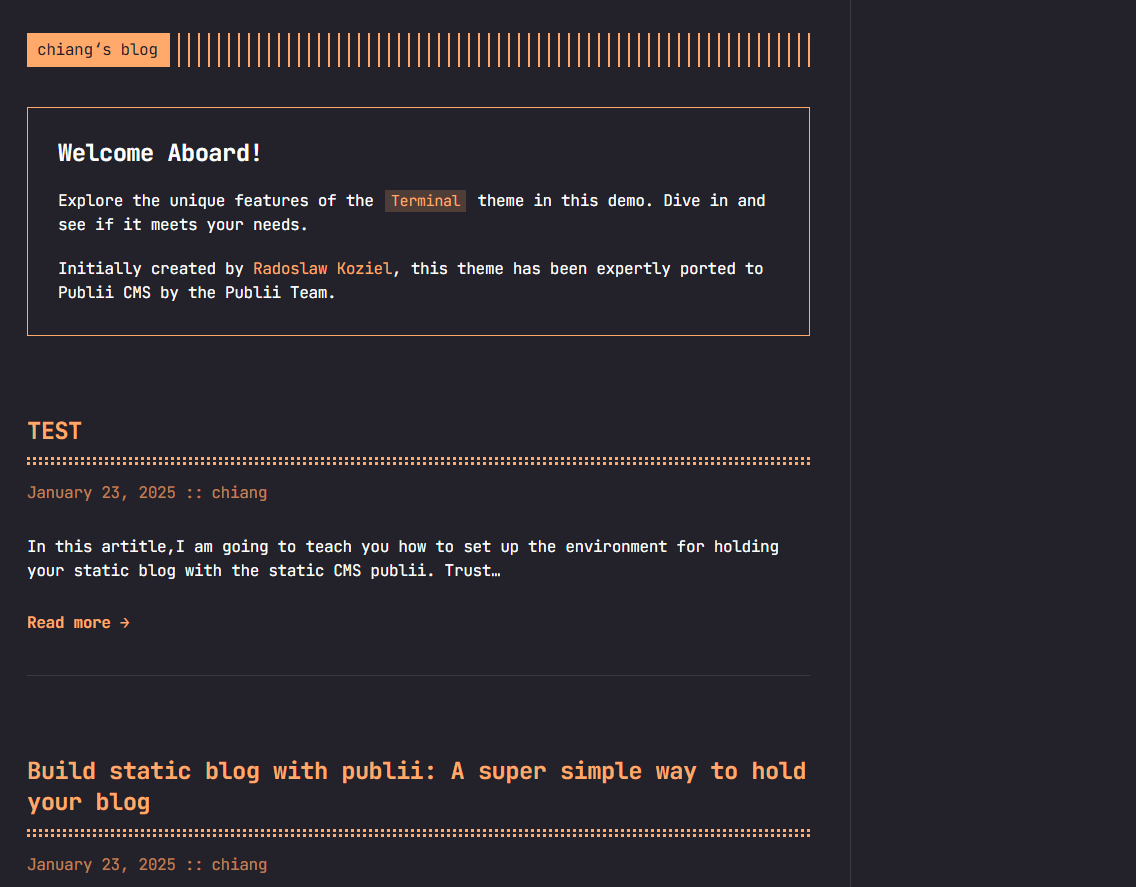
Preview the site again,you see that the theme indeed changed.
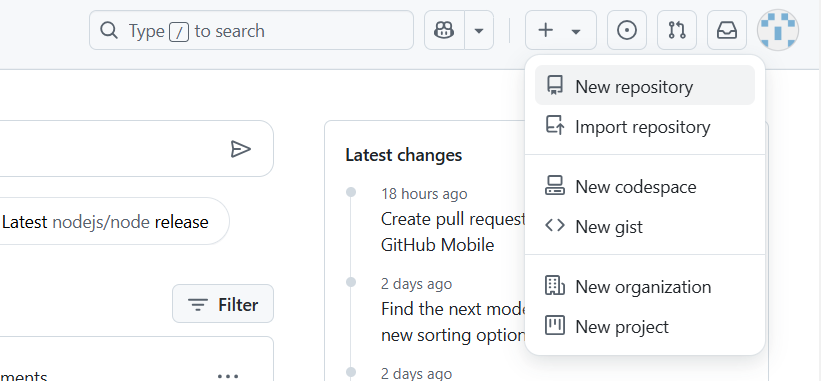
Upload your site on github
Github offers respository to save your website’s source code. If you don’t have a github account, register it in 1 minutes.
click the new respository to create a new respository to save the source code of your blog.
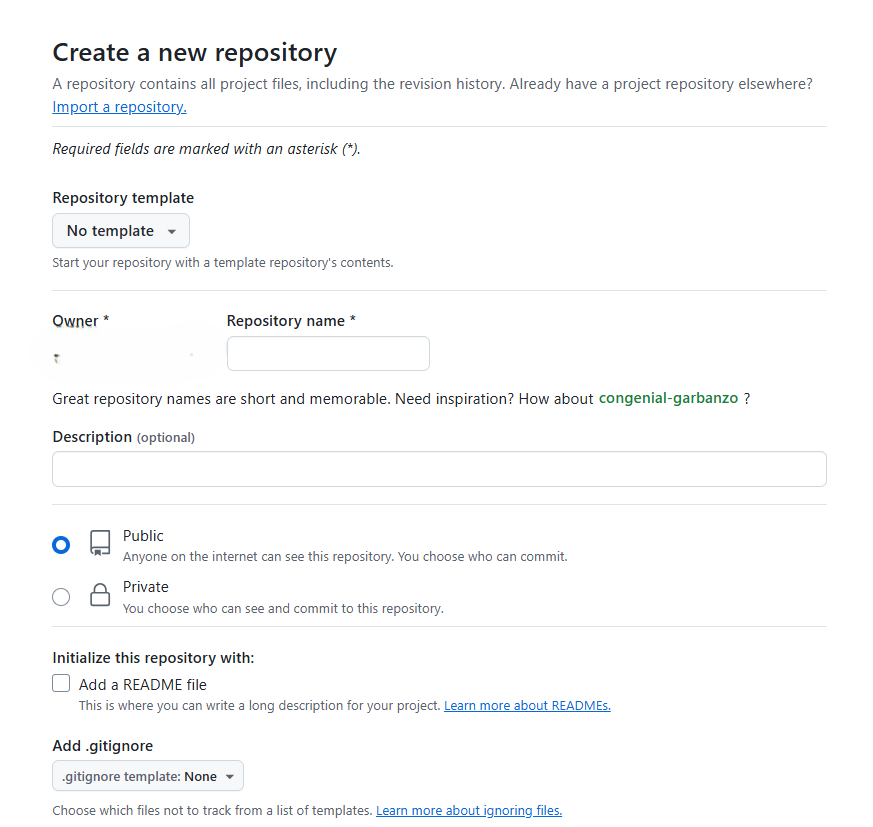
Enter the name of the respository, choose public or private depending on you, and remember to check “Add a README file.You should firstly write something to the README file,and commit it,otherwise you will get stucked when you sync your website.
Choose the settings in the side bar.
Select the Developer settintgs
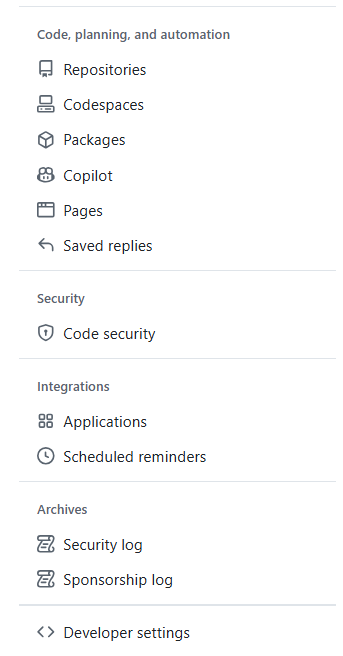
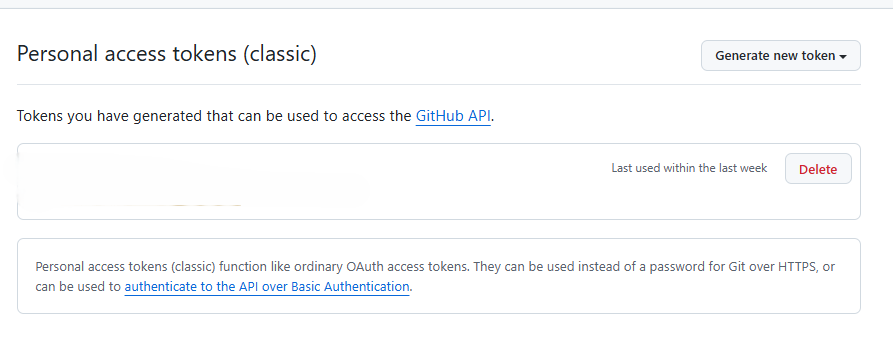
Create Personal access tokens(classic)
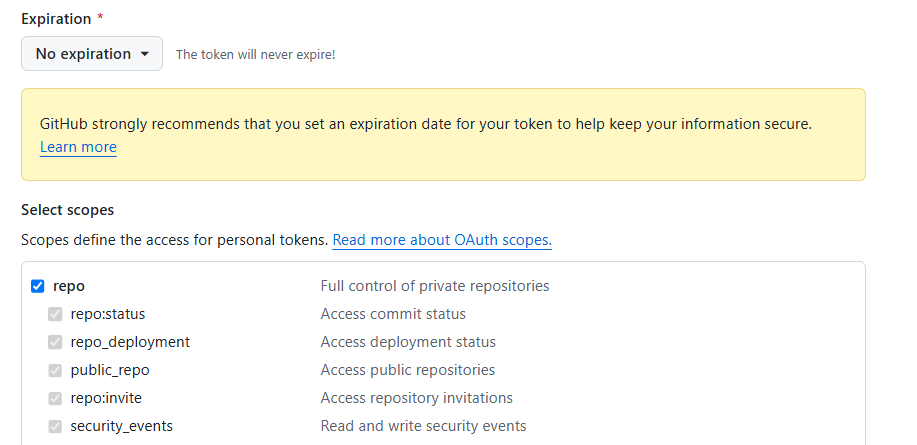
Set the Expiration as No espiration,and check the repo
After the steps above, you will get the token,copy it to a safe place,and save it. We will use it later.
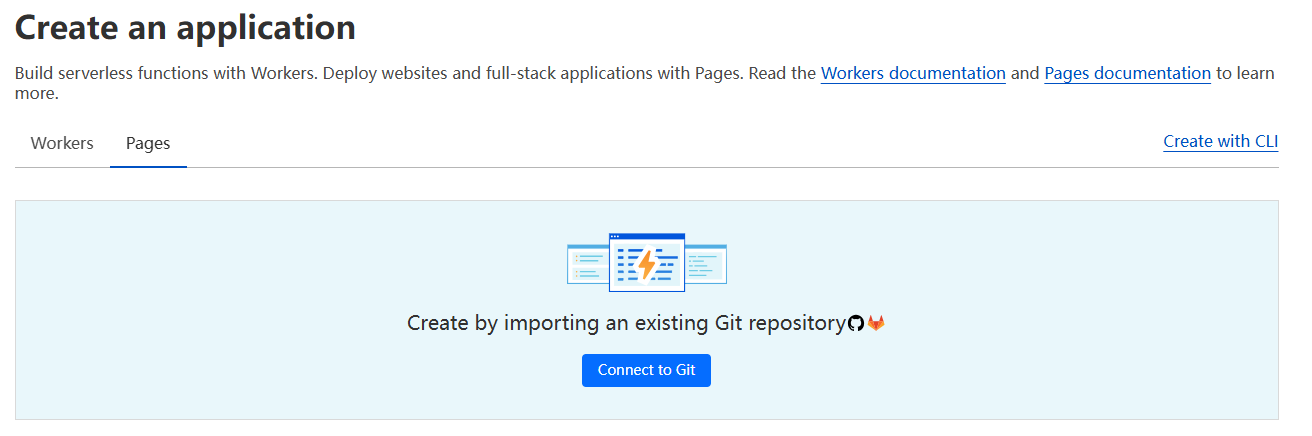
Set up cloudflare pages
If you don’t have cloudflare account, sign up for one.
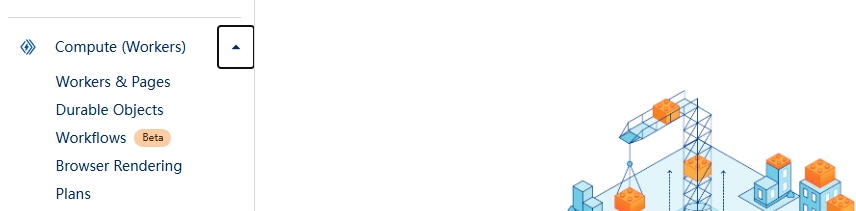
Click the Compute(Workers) > Workers & Pages, then click the create button.
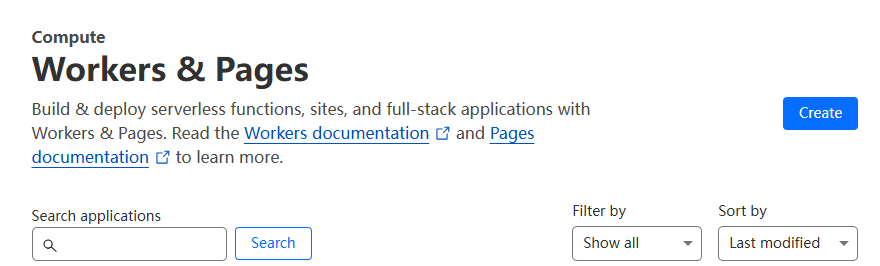
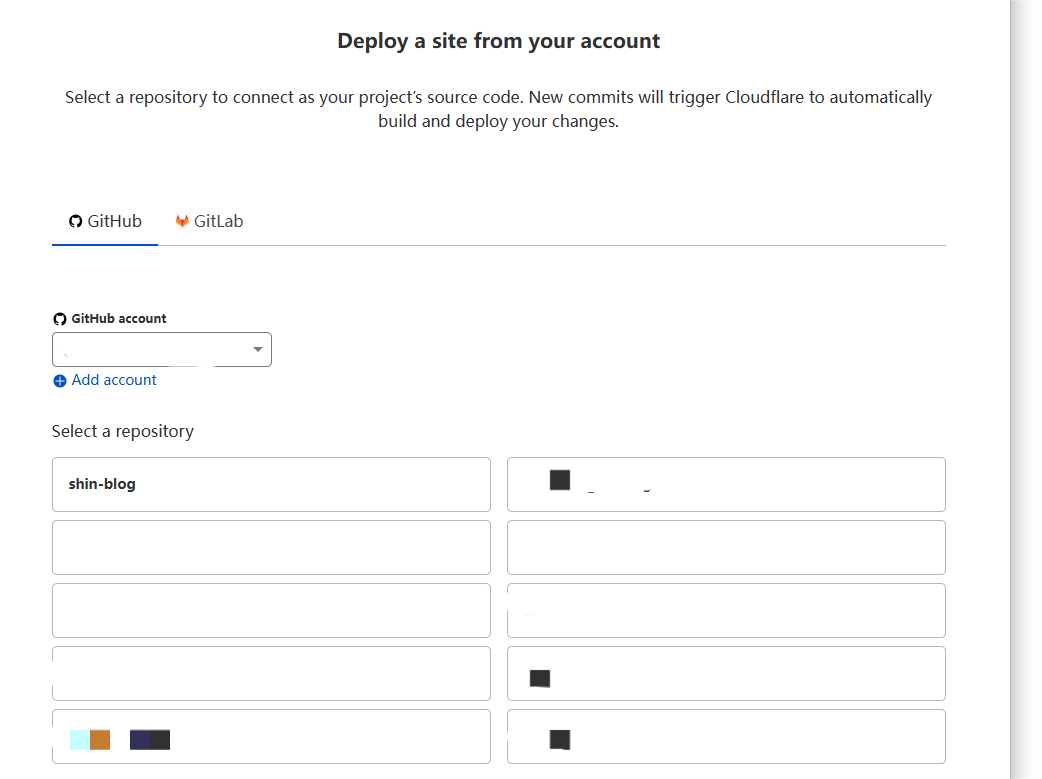
choose “page”,and connect to your github account,then select the respository you created for saving the source code for your blog.
Choose the server type
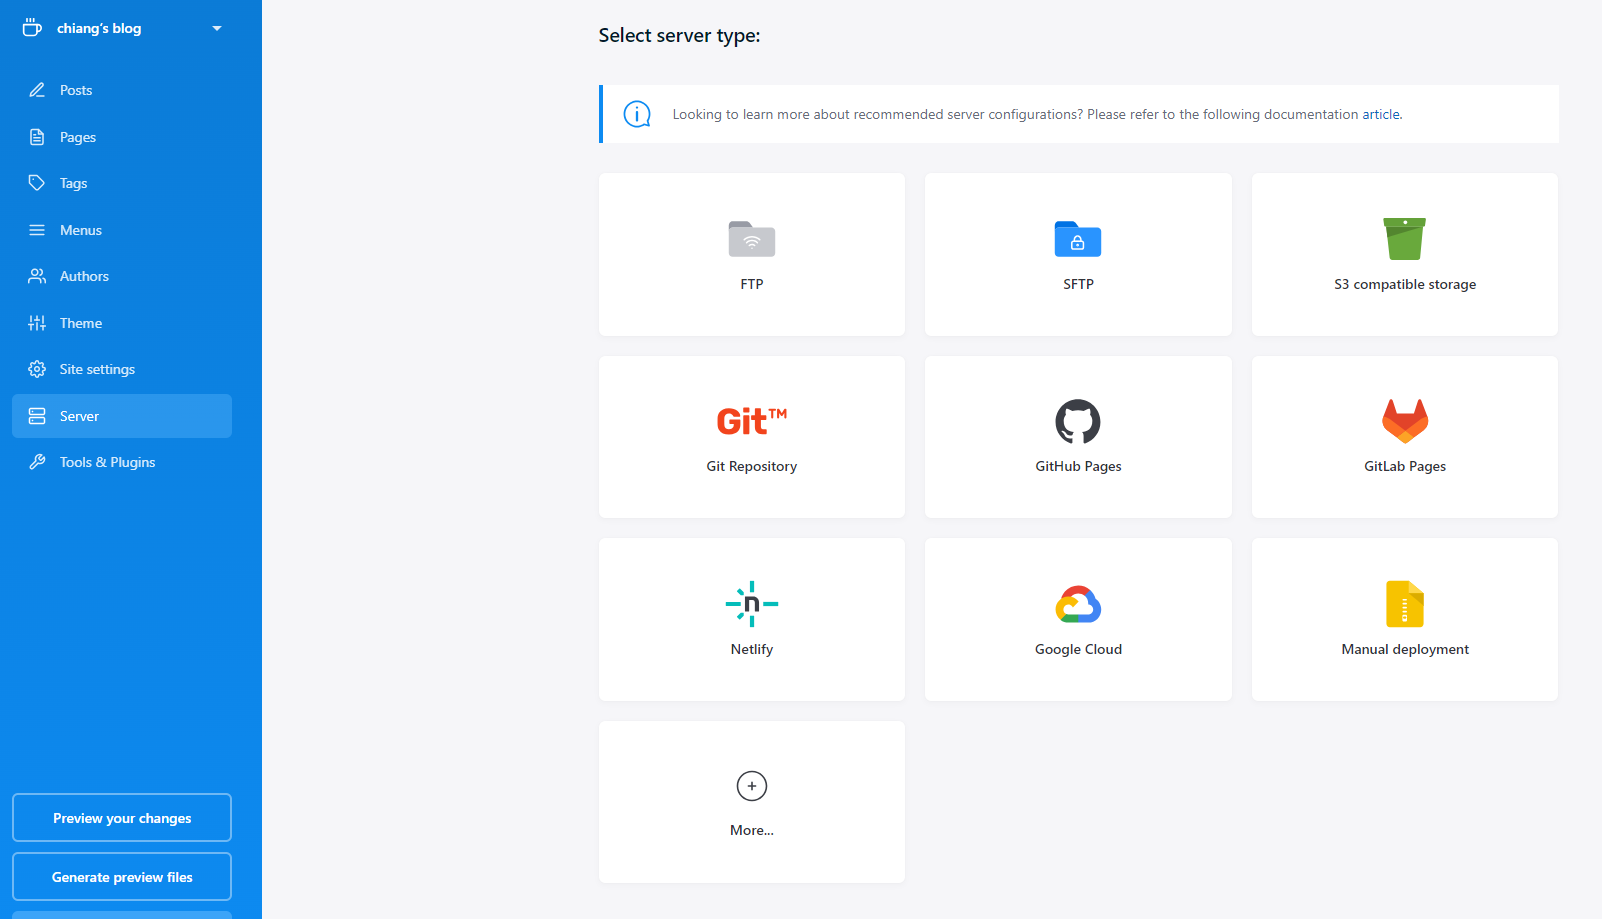
come back to the publii app, click the server button on the side bar,you will see several server types,here we use the cloudflare page to hold our blog so we choose the Git Respository.
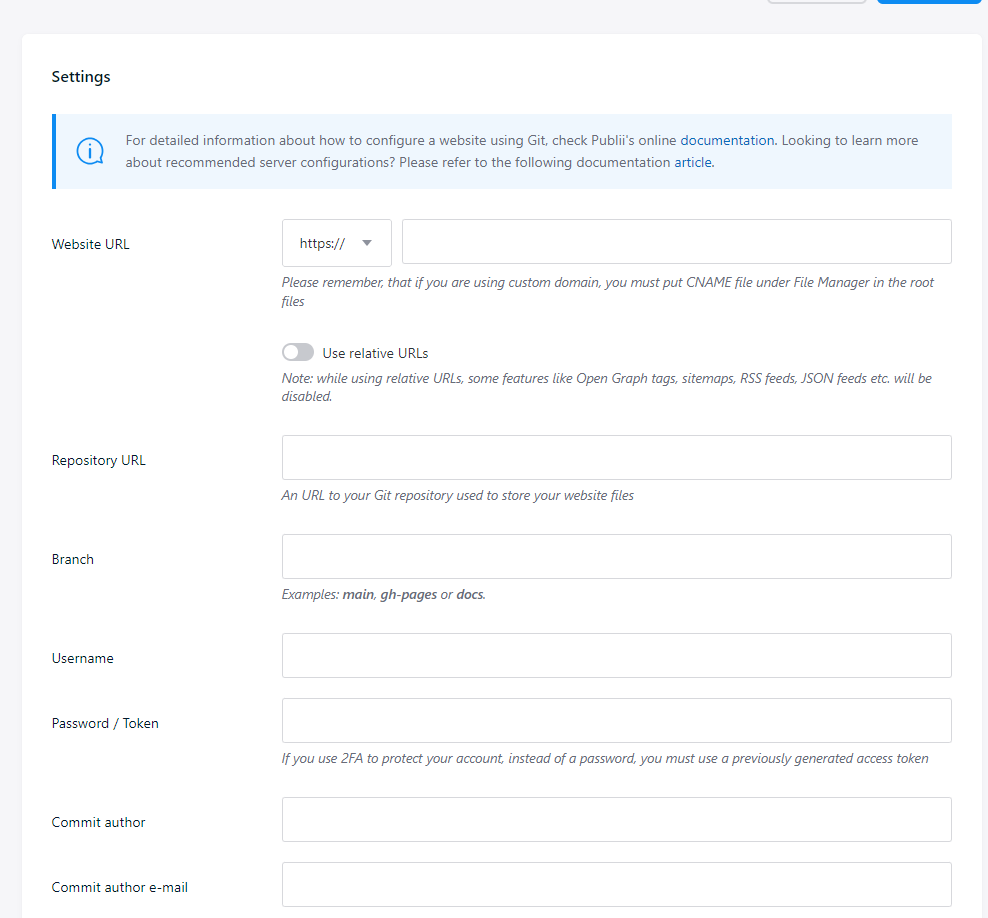
Enter the items like the following,and save the settings.
website URL:  your domain
respository URL: github.com/yourusername/yourrespository.git
Branch: main
Username: your github username
Token: the token you got
Upload your blog
After everything settle down, come back to publii, click the “sync your website” button to sync your blog.If it goes well,your blog is successfully deployed.
Other problems
Tutorials have been clearly given on publii’s offical documents,if you are puzzled by any steps in this article,try to read the offical docs, and if you have problems that is not included in the docs, trying publii’s offical forum may be helpful.